


When you want go, get a Triumph. Or so says the promotional literature. Another splendid period pen and ink illustration.
After Kipling:
If you can fill the empty hour with sixty minutes worth of distance ridden….
When you want go, get a Triumph. Or so says the promotional literature. Another splendid period pen and ink illustration.
After Kipling:
If you can fill the empty hour with sixty minutes worth of distance ridden….

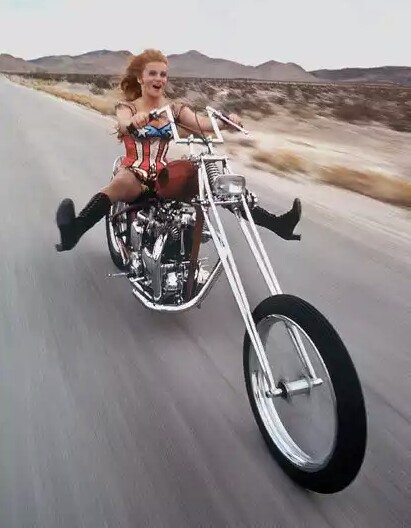
A latter day recreation of Ann Margaret this time good guy George Clooney goofing about on his Bonnie.
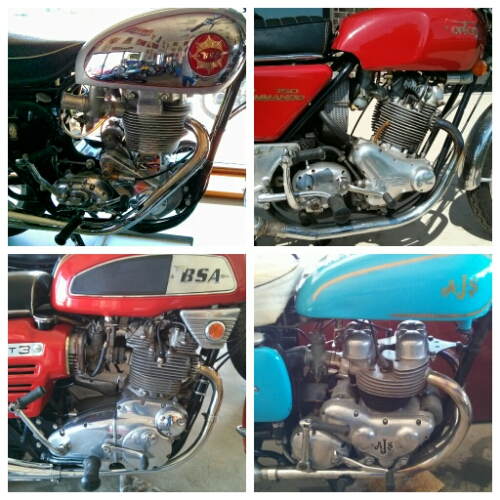
Don’t engines look good? Here’s a bevy of fine examples of British Iron that were spied up at Morrie’s last Saturday. BSA Goldie, Norton Commando, AJS 31 Hurricane, BSA Rocket 3.
Any would look good in a garage or more importantly under a twisted throttle on the open road.

The clutch slotted into place easily this evening with primary chain and crankshaft sprocket also slotted onto its splines. New friction plates and springs should give the clutch refreshed bite. I bolted the cover on and dropped the cylinder head temporarily into place to get a feel of the engine as a complete unit. “Lookin’ Good Billy Ray” “Feelin’ Good Louis!”
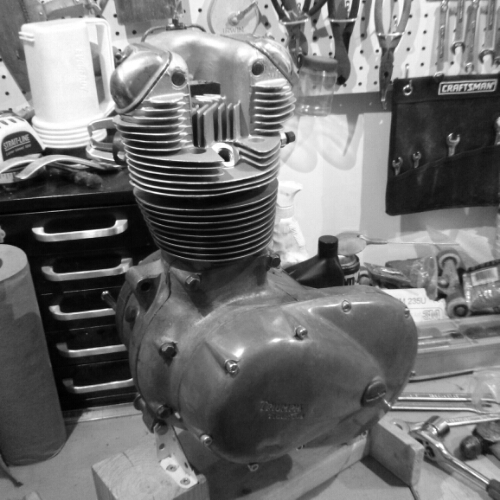
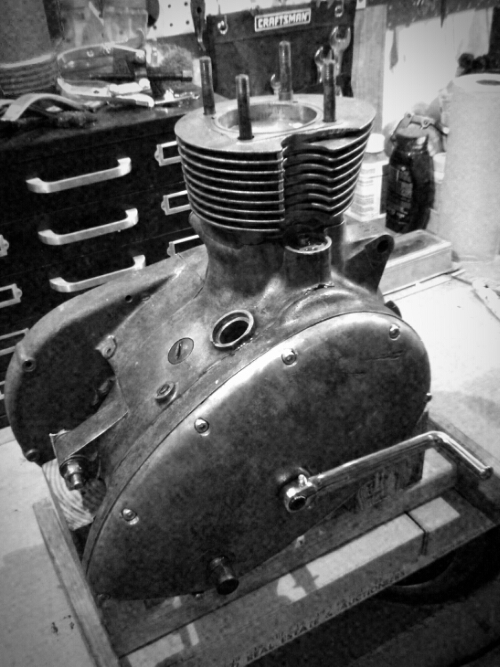
The gearbox was a little more cumbersome than the manual gave reference to. I had assembled it at least a half dozen times but the shifter plate, though meshed with the pair of shifter forks wouldn’t sit for the pivot pin to drive home. One of the gears was the wrong way round! A subtle but critical Alignment. Once flipped I managed to buttoned things up: gears mesh, kicker pawl clicked-in, return spring wound and covers bolted on. Once sat upright and gear lever attached it clicked positively through the gears: first, neutral, second, third and fourth.


An outing today saw Morrie’s Place in Ringwood IL as the destination. Run by British Bike master Ed Zender it is an Aladdin’s Cave of old motorcycles, endless parts shelves, a well tooled workshop and knowledgeable help.

BSA’s, Triumphs, Norton’s, AJS’s, Vincents… Bonneville’s, Tigers, Thunderbolts, Gold stars, Black Lightning, Rocket 3’s. Clean examples, oily well ridden ones, custom racers, correct restorations.

There is always someone passing through for a part, a chat, dropping off or picking up. The ‘phone rings often. Ed’s encyclopedic ken is great when working on a project. It’s great that there are resources like this for keeping these classic machines on the road.

Lovely big Ford F350 hauling vehicle with appropriately sign painted bed panels.

Don’t Draper couldn’t have said it any better: like some promotional imagery straight from the booze guzzling, cigarette smoking, sex addict ad agency cats of New Yorks Madison Avenue in the sixties. Clean graphics, straight to the point and makes sure the guy gets the gal with his Bonneville.

Growing up the flag of the United Kingdom was called the Union Jack. Now apparently it has been given its ‘correct’ term as the plain old Union Flag. The ‘jack’ flag being the bow flag hoisted on the jack staff of a naval ship. It’ll still be the Union Jack to me…. Well until the loss of St Andrews Saltire when Scots independence occurs.
Nevertheless it looks pretty good on the petrol tank of a Triumph Cub too!

After the last few entries of assembly here’s a review of the exploded workshop manual drawings. I’ve posted these before during research but now we’ve seen the components go back together they have more life.

The cylinder head with valves; crankshaft, pistons and timing cams. I like the penmanship of these technical drawings, you can see the draughtsmans unique hand in them.

The clutch is the hidden unsung hero of the transmission: where rotational power is transfered from the engine driveshaft, through the gearbox and on to the back wheel. Allowing power to be controlled to change gearing whilst allowing the engine to continue spinning. Known as a basket clutch it contains a series of alternating friction and smooth plates each with inner and outer lugs that provide a keyed link between the outer drive drum and inner driven shaft. Under normal operation springs squeeze the plates together forming the engine to wheel power transmission. When the clutch lever is pulled in the clutch is disengaged. But you all know that!

The rear shocks arrived today, ordered directly from NJB Suspension in the UK who manufacture rear units specifically for Triumph Cubs; amongst other pre 65 twin shock machines. They slotted straight on and, along with the forks threaded into the steering head triple tree, start to give the chassis some semblance of the motorbike it it yet to be. I could attach the wheels and she’d roll! Progress!
The pieces fit together as planned; well, mostly. That is what the soft blow hammer is for, to encourage the required mating of the Cub engine components.
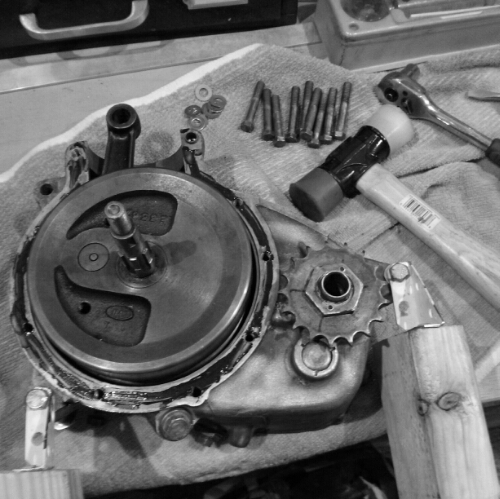
Today the case halves were reunited again with enclosed crankshaft. Chilled bearings were driven home, oil seals installed and the main gear spindle with drive sprocket, and the weighty big-end threaded correctly to its bushing, then the cases buttoned up with a smear of liquid gasket and nine peripheral bolts tightened in the workshop manual recommended ‘star’ tightening pattern.
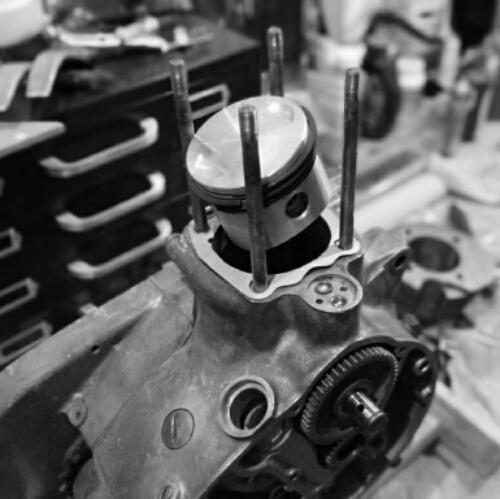
Timing side pinion bolted directly to the crank, tappets slid up to their home and the timing cams and gear meshed according to marks.

I’m on a roll! Cylinder studs threaded down into the lower, piston aligned with gudgeon pin and circlip retainers popped in. Barrel dropped into place minding that the piston rings seat between the piston and barrel wall itself.
That’s enough for today! It all sounds like it went easily together but I don’t explain some removal, adjusting clearances, reassembling – repeat.. For a few of the steps.

Engine assembly truly beginning today; the cylinder head had the valves installed: their respective springs compressed and collets popped in. Rocker spindles threaded with the arms set, covers and carburettor studs and exhaust sleeve screwed in. “Over ‘ere son; on the ‘ead!”

T’is the weekend and it’s time to hare down the A23 to the seaside. The pebbly beach fronted promenade is the place to be seen and Madeira Drive the strip to drag up and down. How low are those ‘bars?

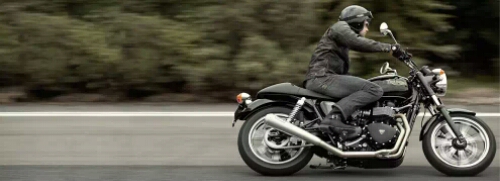
*Normal service to this blog will resume momentarily; in the meantime enjoy this Triumph Thruxton ‘strip art’.
I’ve got a bleedin’ cold with a runny nose, stuffy heid and volcanic sneezin’!
 geordiebiker.com